Step 01
The cut list
Every measurement comes off the drawing you made. The builder works out the length of each member and that list goes to the saw — no standard sizes, no rounding to something we already had lying around.
Your design, on paperFrom the drawing to your room
You are about to pay half up front to someone you have never met, for a thing that does not exist yet. Fair enough. So here is the whole build, start to finish, with nothing tidied up for the camera — the same workshop, the same hands, the same desk you drew.
Step 01
Every measurement comes off the drawing you made. The builder works out the length of each member and that list goes to the saw — no standard sizes, no rounding to something we already had lying around.
Your design, on paperStep 02
Each member cut square and deburred. A desk frame is about a dozen cuts, and every one of them has to be right — a millimetre out at this stage is a frame that never sits flat.
~12 cuts a frameStep 03
The frame is tacked together and checked for square before anything is welded properly. This is the step that decides whether your desk rocks for the rest of its life.
Checked before it’s committedStep 04
Every joint run properly, not tacked and hoped for. This is the part you are actually paying a workshop for, and it is the part you can see on your build sheet as a price per joint.
Priced per joint, not per rand of tubeStep 05
Each weld ground flush so the frame reads as one piece rather than as tube stuck together. Slow, dull, and the difference between furniture and fabrication.
Flush, not lumpyStep 06
Every surface cleaned before a drop of paint goes near it. Skip this and the coating lifts inside a year — it is the step nobody asks about and the one that decides whether the finish lasts.
The step that gets skippedStep 07
Duram DTM, brushed on by hand in the workshop, in whichever colour you picked. It carries its own rust primer, so there is no separate primer coat to go wrong.
Direct-to-metal, brushed, two coatsStep 08
Melamine board cut to your exact size, edge strips ironed on all round, bolted to the frame and wiped down. Board is charged for the area it actually uses — the offcut goes on the next job, not onto your invoice. Then it is loaded into a car and driven to you, and the balance is due when it is standing in your room, not before.
Balance due on deliveryThe whole point
Left is the 3D preview in the builder. Right is the desk that came out of the workshop. Same size, same board, same frame — because the drawing and the cut list are the same thing.
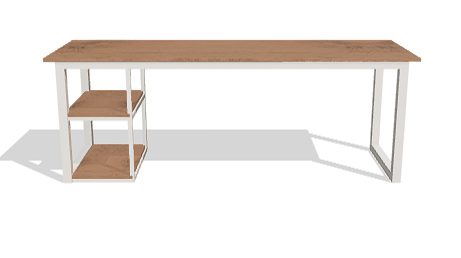
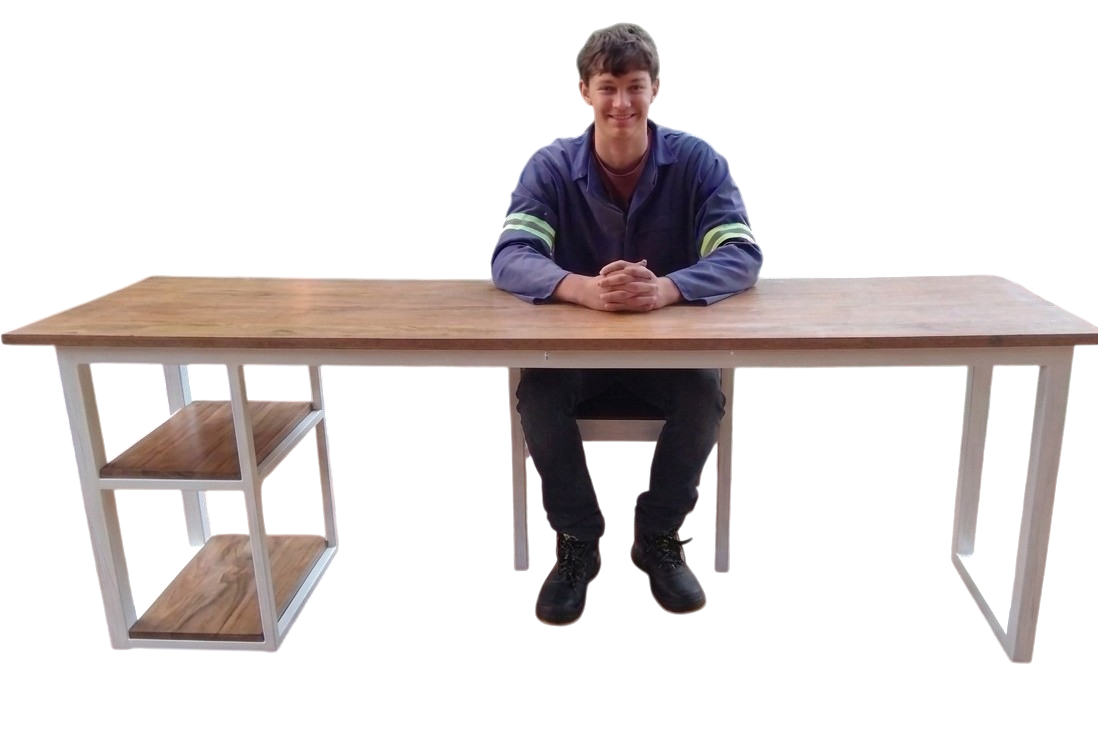
Set the size, pick the board and the frame, and watch the price move as you go. No email, no waiting three days for a quote.
Start building — see the price